
 by
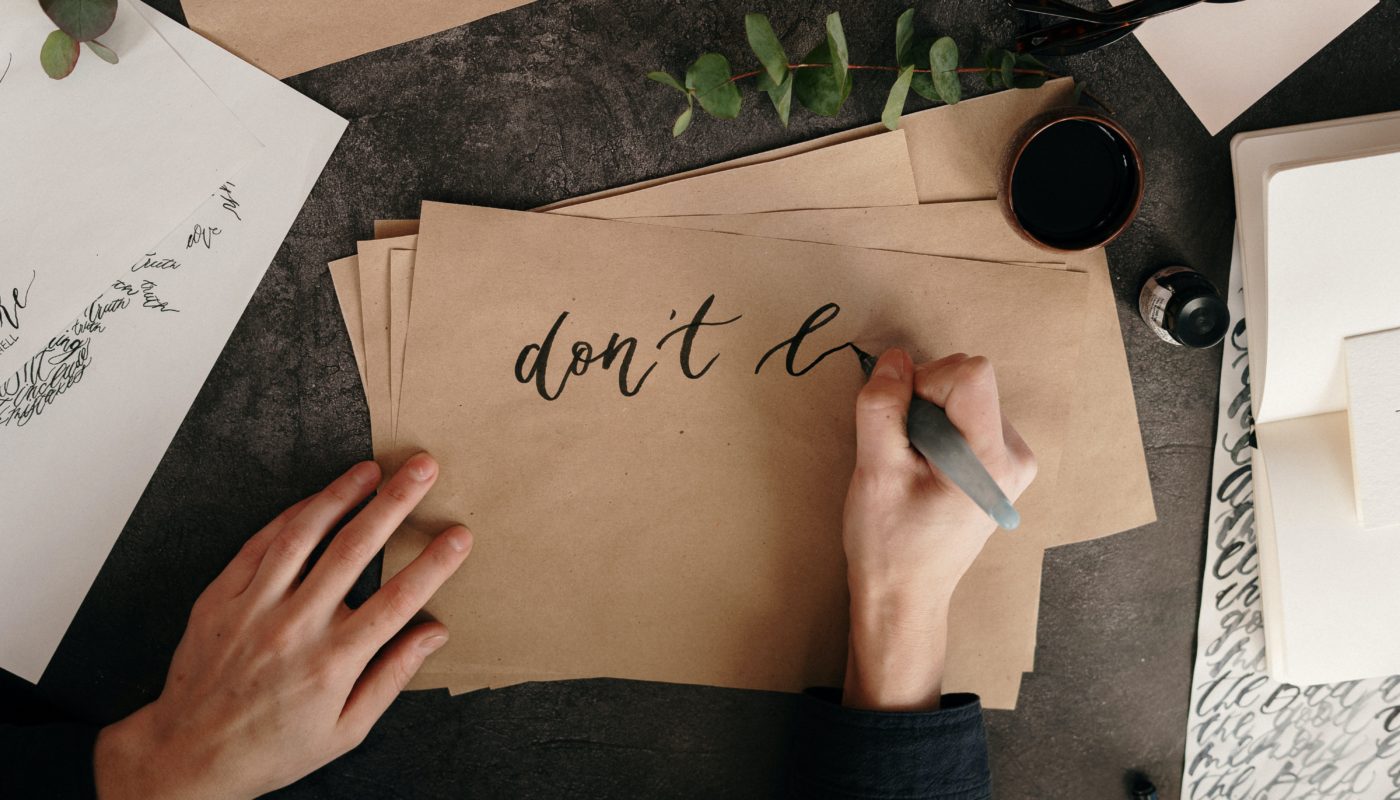
by I find that the easiest way to understand calligraphy is to examine the word itself. The term “calligraphy” is derived from two Greek words “kallos” and “graphein” which mean “beauty” and “to write” respectively. So, by definition, calligraphy simply means to write beautifully. Of course, calligraphy as an art form goes beyond simply writing beautifully. It is also a way of demonstrating harmony of craft through writing and showing one’s creative side through the dynamic use of many skills and techniques.
Calligraphy Tools
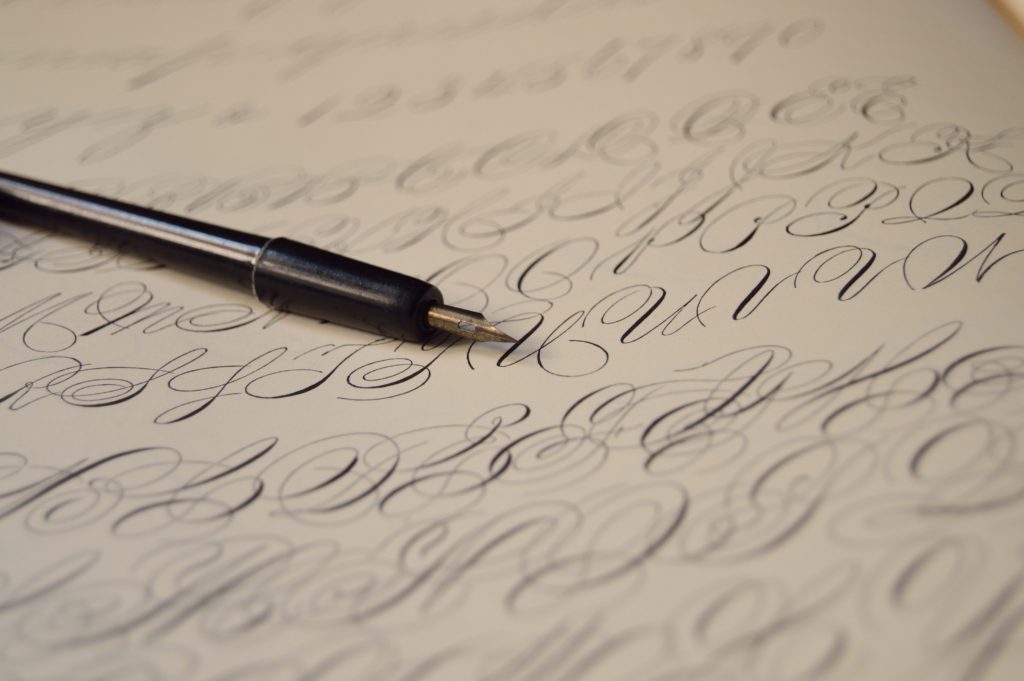
As you may have guessed, pens are the most important tools in calligraphy. When it comes to calligraphy pens, there can be plenty of misconceptions, especially for beginners. As a beginner, you might be tempted to go the routine way of searching for a calligraphy pen on Google. While this may be the intuitive approach, most beginners won’t be able to differentiate between the different calligraphy pens available. To those proficient in the art, it’s all a matter of preference, but for beginners, it’s best to understand the distinction between the various types of calligraphy pens before deciding on which approach suits you best.
Calligraphy pens or, “dip pens” as they were originally known, are the “real” pens made for calligraphy – their history goes back to the early days of the art when pens were traditionally made from reeds and feather quills which were dipped directly into inks. Modern-day dip pens can be made from anything from, wood to metal, or glass – as long as they have a writing nib and a handle. But the most important feature that differentiates it from a fountain pen (the other famous type of pen used for calligraphy) is the ink reservoir. As the name implies, dip pens must be dipped into the ink, while fountain pens have an ink reservoir contained within the pen itself.
As well as the different kinds of pens used in calligraphy, you also have the calligraphy markers which have different nibs as well – although they are primarily used for drawing, they play a crucial part in calligraphy especially for beginners and children.
While there is no “correct” answer for which type of pen to use, to make your choice easier, here is a list of pros and cons of both fountain pens and dip pens.
- The dip pen uses waterproof pigmented inks, such as acrylic links and India inks. A fountain pen isn’t capable of writing with these inks, since they would destroy any fountain pen by clogging their ink reservoirs.
2. With dip pens, nibs are easily and readily exchangeable, allowing you to easily apply different types of lines, colors, and effects using the same pens. Fountain pens, on the other hand, typically need to be swapped out wholesale in order to achieve those different effects.
3. Dip pens tend to write smoother than fountain pens.
4. Fountain pens are less messy and more beginner-friendly. Since fountain pens contain their own ink reservoir, they are more familiar to most people. Getting a feel for using an external ink source can take some time and leave more room for accidents such as drips and spills.
5. Dip pens are less expensive. Since the pens themselves don’t need to be swapped out when you want a different tip or type of ink, overall costs are typically kept lower with dip pens.
Using dip pens or fountain pens is ultimately a matter of preference. Many skilled caligraphers utilize both in order to benefit from their respective strengths.
Learning the Styles
Broad Style Calligraphy: Calligraphy makers are often used in broad edge calligraphy – which is one of the two main styles of calligraphy in the west. It is quite easy to learn and does not require an in-depth technique to master. When starting calligraphy it’s typically best to become proficient in a particular style before moving on to the next. Mastering one style before moving to the next will make it less confusing overall.
Pointed Style Calligraphy: The other type of western calligraphy, pointed style calligraphy represents the transition to more masterful styles. This more advanced style is typically what those within the hobby aspire to master.
Learning the Basics

Master the Calligraphy Alphabets: Since there are two main styles of calligraphy, there are also two different alphabet styles, and countless different fonts. Mastering all fonts is impossible but there are common ones that should be learened as the basic starting blocks, such as Italic, Roundhand, Gothic, Roman Rustic Capitals, and Copperplate.
Practice Practice Practice: The only way to get better at any skill is to put in the time, and calligraphy is no different. It is better to practice with a book made especially for calligraphy. Look for calligraphy books that come with practice resources to help learners. As you get better, you should gradually rely less and less on guidelines, but they’re great to help you get started.
Read Calligraphy Books: Calligraphy might be all about writing but that doesn’t mean that reading isn’t an essential tool for learning. Reading about calligraphy introduces you to the more technical aspects of calligraphy, especially when it comes to different theories of design. If you have a favorite calligrapher, reading about their specific process can really boost your learning.
Joining A Calligraphy Community: One thing that can really help those new to calligraphy is to join a community. When starting calligraphy, the questions can seem endless, so you can join your local community or online community of calligraphers to have your questions answered and to learn from those with more experience. You can also try utilizing social media to network with fellow calligraphers and stay updated on their work.
Setting Goals
Setting goals helps you track your progress and can encourage you to always keep improving. Which goals you set will depend on your individual approach to learning, but here are some example goals to get you started:
- Mastering a particular style (before moving to the next).

2. Being comfortable using both fountain pens and dip pens.
3. Reading a certain amount of calligraphy books each month.
4. Practicing for a specific amount of time daily and monthly.
5. Learning a particular calligraphy Alphabet.
Moving to the Next Stage
After you have acquired your Calligraphy Tools Starter Kit, learned the basics, practiced, and set goals – what is the next step?
The next step is to look for real-world projects and applications. These projects aren’t necessarily related to your individual goals or pace of learning, but can instead challenge you in unexpected ways to improve your skills or teach you new ones. If you are doing this as a hobby you might not necessarily be looking to make money out of it, but there is also the potential for you to earn some cash from these projects – especially once your skills increase. Start by asking family and friends if they would like a gift, volunteer to design for your church, school, or hospital. You can also advertise your work online, where you can take requests, participate in online challenges, and start building your portfolio.